Jira, developed by Atlassian, is a household name in the software industry, primarily known for its prowess in issue and project tracking. If you’re wondering how to harness the power of Jira for effective project management, look no further. This guide will walk you through the essential steps.

What is Jira?
Jira began its journey as a bug and issue-tracking tool, but with continuous development and feature integration, it has blossomed into one of the most sophisticated project management tools available. Suitable for both Agile and traditional project management, Jira offers a range of customizable features to fit varied project needs.
The key features of JIRA
Jira stands out as a leading project management and issue-tracking tool largely because of its vast array of features. These features cater to teams of all sizes, across various industries, and can be tailored to fit agile methodologies or traditional project management approaches. Here’s an overview of the key features of Jira:
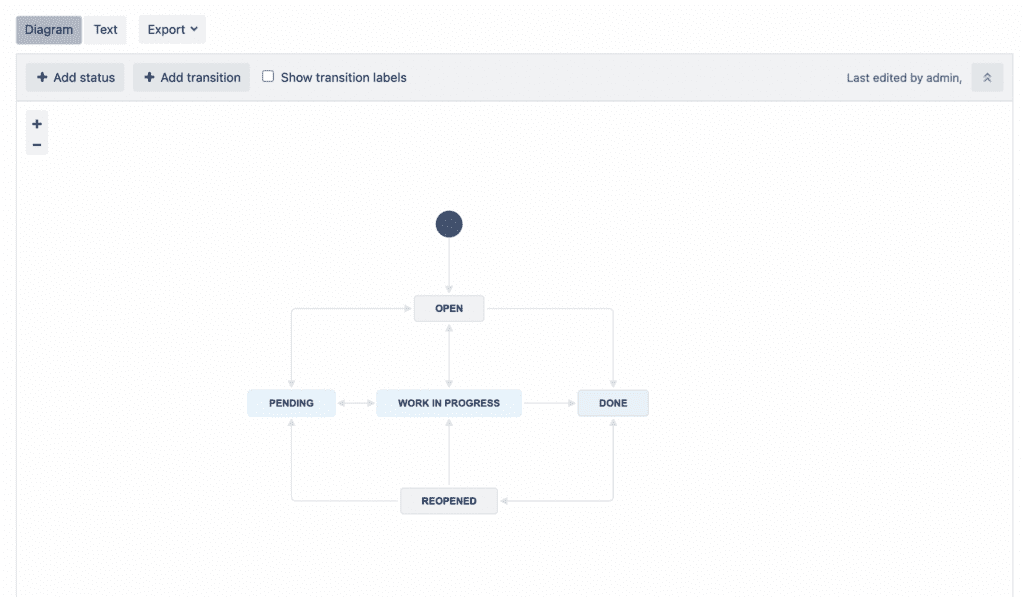
1. Customizable Workflows:
- Create and customize workflows that define the stages and transitions an issue goes through during its lifecycle.
- Use conditions, permissions, and validators to control how issues transition between stages.
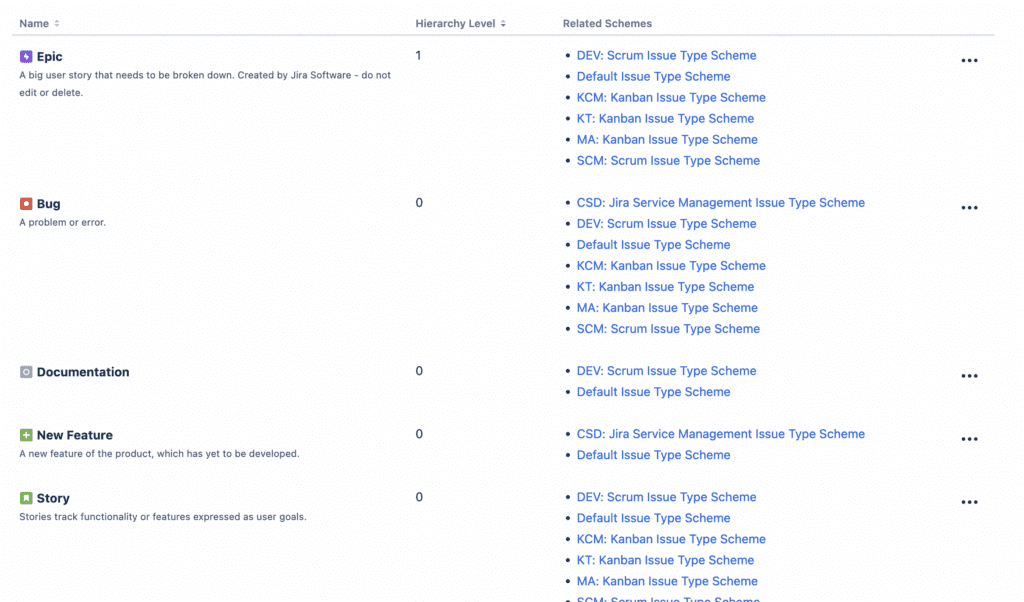
2. Issues and Issue Types:
- Track tasks, bugs, stories, epics, and more.
- Customize issue types and attributes to fit your project’s needs.
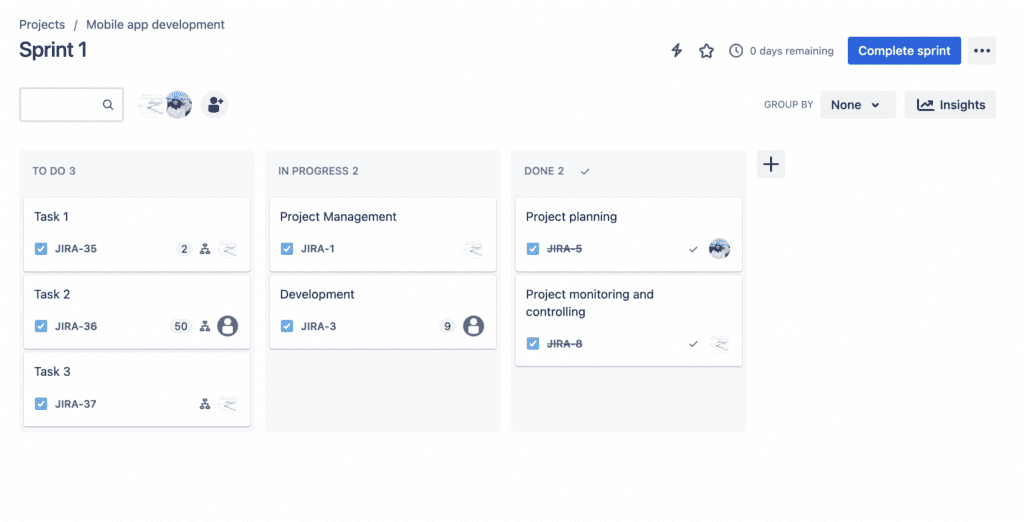
3. Agile Boards:
- Scrum and Kanban boards to visualize and manage tasks.
- Drag and drop tasks across columns to update their status.
Learn more: How Jira Revolutionizes Resource Planning for Agile Teams
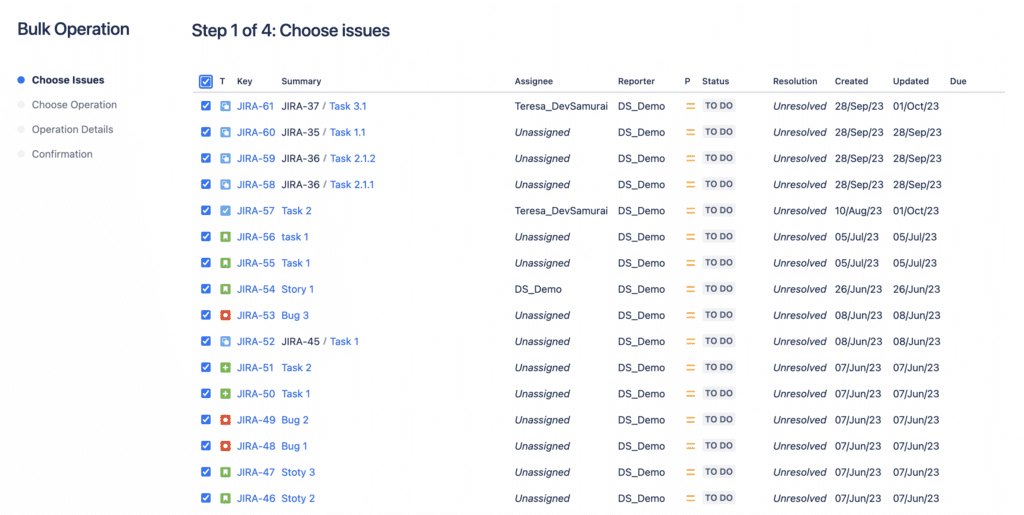
4. Batch Operations:
- Make bulk changes to issues, like transitioning several issues at once or bulk editing.
5. Advanced Searching with Jira Query Language (JQL):
- Use the powerful JQL to filter issues based on complex criteria.
- Save and share filters for quick access.
6. Reporting and Dashboards:
- Access to various out-of-the-box reports, such as burndown charts, sprint reports, velocity charts, and more.
- Create custom dashboards to visualize the most important project data and metrics.
7. Custom Fields and Screens:
- Add custom fields to capture unique data for your projects.
- Customize screens to determine which fields are presented during different operations.
8. Permissions and Security Schemes:
- Control who can see and modify issues with detailed permission schemes.
- Use security levels to further restrict access to individual issues.
9. Integration and Add-ons:
- Seamlessly integrate with other Atlassian products like Confluence, Bitbucket, and Trello.
- Extend Jira’s capabilities with apps and integrations available in the Atlassian Marketplace.
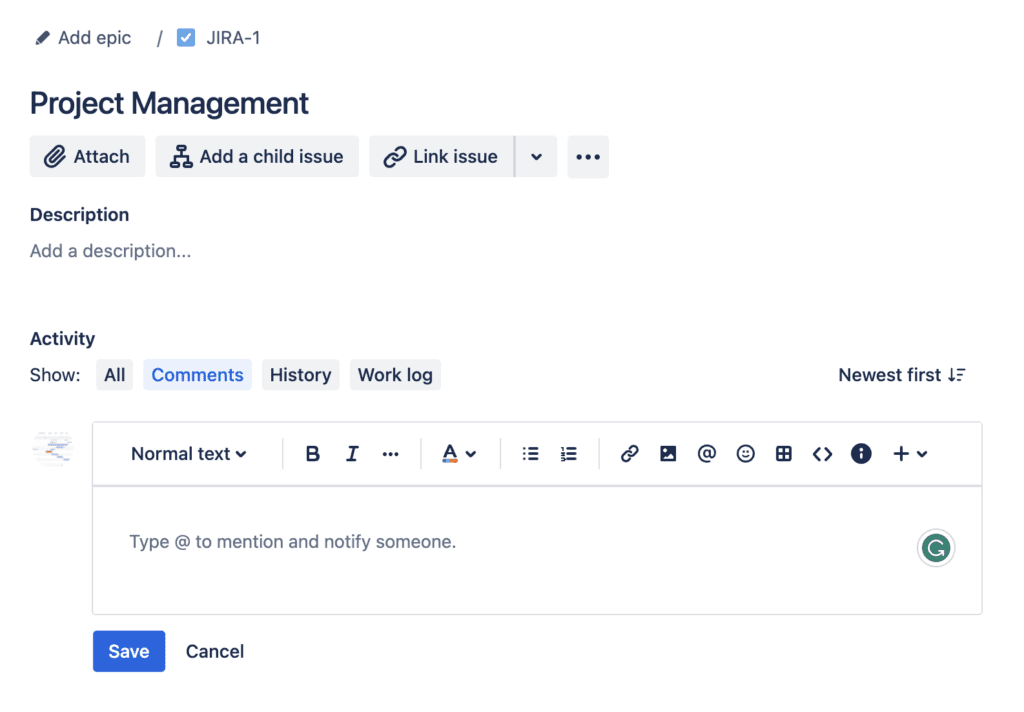
10. Real-time Collaboration:
- Comment on issues for team discussions.
- Use @mentions to notify specific team members.
11. Time Tracking and Work Log:
- Log work to track time spent on issues.
- Use time-tracking fields to estimate effort and monitor progress.
![]()
Learn more: How to Log Work in Jira Effectively: Mastering Time Tracking
12. Roadmaps
- Plan, track, and manage team’s work with visual roadmaps.
- Visualize dependencies and get a high-level view of the project’s progress.
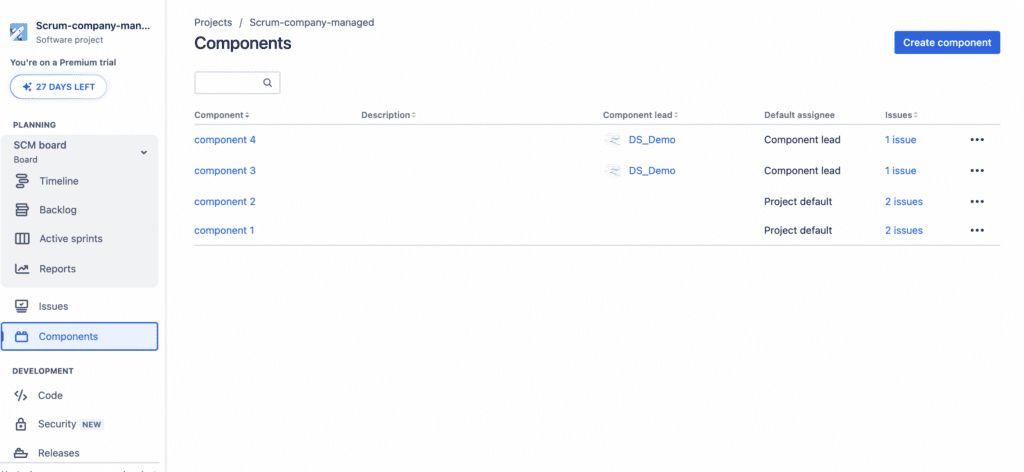
13. Project and Component Management:
- Organize issues into projects and components for better tracking and reporting.
Jira’s strength lies not just in its standalone capabilities but also in its ability to be customized and integrated, ensuring it meets the unique needs of each organization and project. Whether you’re in software development, IT, business management, or any other field, Jira’s features can be tailored to fit your project management requirements.
How to use Jira for project management
Harnessing the robust capabilities of Jira for project management requires a methodical approach. And when it comes to mastering this craft, there’s no better avenue than enrolling in project management courses. Let’s initiate the journey and dive deep into this fundamental steps of setting up templates tailored to your team’s needs.
Step 1: Set Up Templates for Jira Project Management
1.1 Understanding Project Templates in Jira
Before setting up templates, it’s essential to grasp why they are crucial:
- Project templates provide a pre-configured framework tailored to specific methodologies or workflows, making the creation of new projects quicker and more consistent.
- They can encapsulate best practices, standards, and structures for various types of projects.
1.2 Choosing the Right Template
Jira offers a plethora of built-in templates to cater to diverse project needs:
- Scrum software development: Best suited for teams practicing Scrum, it comes with a Scrum board and tools for planning and managing sprints.
- Kanban software development: Ideal for teams that want a continuous flow model with a Kanban board to visualize work in progress.
- Bug tracking: Designed for teams primarily focusing on identifying, tracking, and resolving bugs.
- Task tracking: Generic template to capture and track tasks, suitable for non-software projects as well.
… and many more depending on your Jira version and plugins.
Pick a template that aligns best with your team’s approach and project’s nature.
1.3 Customizing Your Template
While Jira’s built-in templates are comprehensive, every team has unique needs:
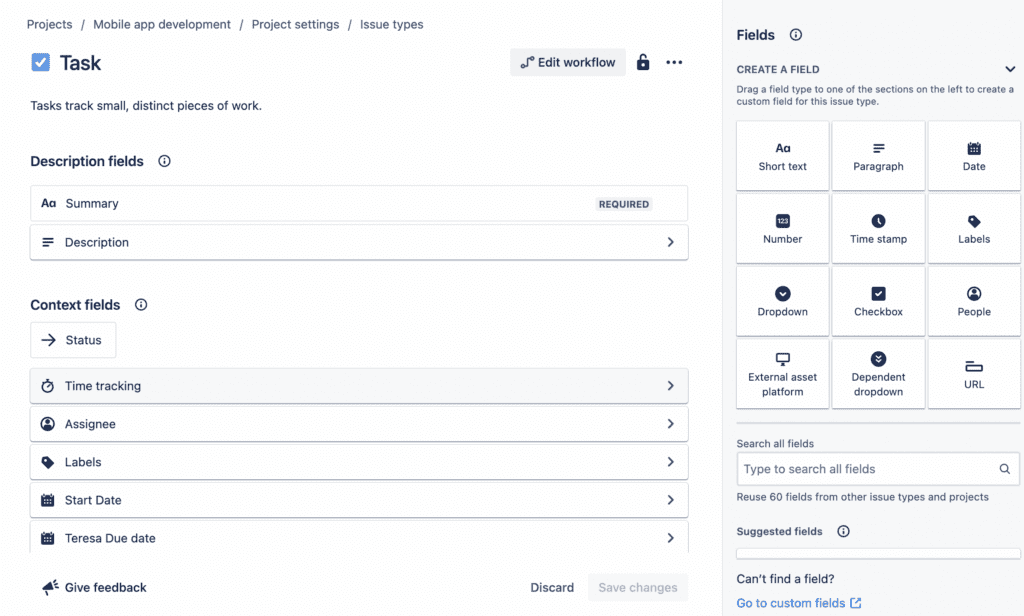
- Modify Issue Types: Depending on your project, you might need types like ‘Bug’, ‘Story’, ‘Task’, ‘Epic’, or custom ones like ‘Design Task’ or ‘Research Item’.
- Custom Fields: Add fields that capture specific data for your projects, like ‘Client Name’, ‘Priority Level’, etc.
- Screens and Screen Schemes: Customize which fields appear during various operations (like issue creation, editing, or transition).
- Workflow Customization: Adjust the default workflows or create entirely new ones to match your process.
1.4 Saving and Sharing Your Template
Once customized, your template can be saved for future projects. It’s a good practice to:
- Give it a descriptive name to easily identify its purpose.
- Share the template with appropriate team members or departments for consistent project setup across the board.
Step 2: Create Issues According to Your Project Plan
Once you’ve set up your project template in Jira, the next crucial step involves creating and organizing issues based on your project plan. Issues in Jira can range from bugs and tasks to stories and epics. Setting them up effectively can streamline the management and execution of your project. Here’s a guide to help you achieve this:
2.1 Understand the Essence of Jira Issues
At its core, an issue in Jira is a unit of work representing something that needs to be accomplished within the project’s context. It could be a new feature (Story), a task, a bug to fix, or a larger chunk of work (Epic).
2.2 Breaking Down the Project Plan
Start with your overarching project plan:
- Identify all tasks, deliverables, and objectives.
- Break down larger tasks into sub-tasks or multiple smaller tasks.
- For software projects, you can categorize tasks into features, user stories, or bugs.
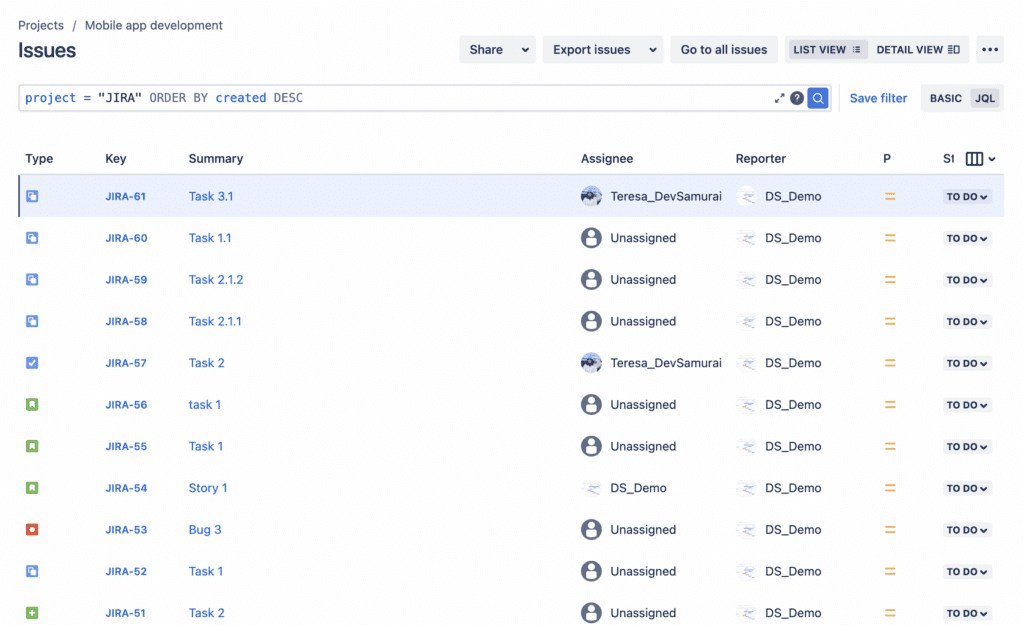
2.3 Creating Issues in Jira
Navigate to Your Project: From the Jira main dashboard, click on your project.
Click on “Create”: This is usually located at the top or side menu.
Fill Out the Issue Details:
- Issue Type: Select the type (e.g., Task, Story, Bug).
- Summary: Provide a brief title for the issue.
- Description: Offer more context or detail.
- Assignee: Decide who is responsible for the task.
- Priority: Set the task’s urgency level.
- Labels & Components: Use these for categorization and filtering.
- Estimates: If you’re using time tracking or story points, provide an estimate.
- Attach Any Relevant Files: This could include mock-ups, reference documents, etc.
Click “Create”: This will save and add the issue to your project.
2.4 Organizing Issues
After creating issues, it’s vital to structure them for clarity:
- Link Related Issues: Establish relationships, like “blocks,” “is blocked by,” “relates to,” etc., to show dependencies.
- Use Epics: Group related user stories or tasks under an Epic for larger projects or features.
- Set Versions: If releasing in stages or versions, assign issues to specific release versions.
2.5 Use Bulk Operations for Efficiency
For large projects, creating issues one-by-one can be time-consuming. Jira allows for bulk operations:
- Bulk Create: Using a CSV import, you can add multiple issues at once.
- Bulk Edit: Make changes to multiple issues simultaneously, like changing assignees or adding labels.
Step 3: Use Teams and Permissions as a Project Manager
Managing access and ensuring the right people have the appropriate permissions to execute tasks is vital in project management. In Jira, permissions are highly customizable, allowing you to fine-tune who can see and modify different aspects of your project. Here’s how you can use teams and permissions effectively:
3.1 Understand Jira’s Permission Architecture
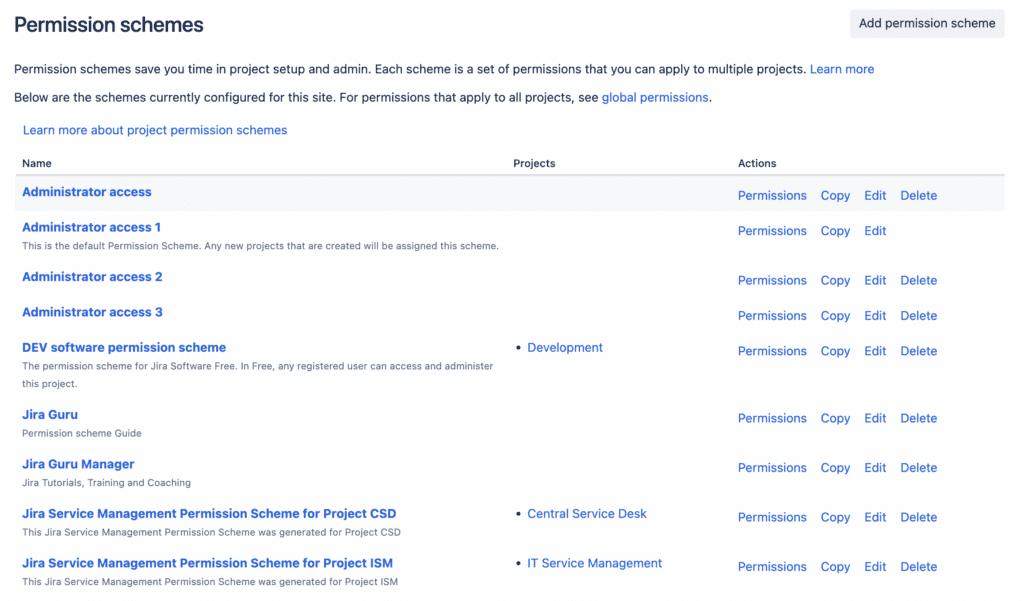
Jira operates on a permission scheme architecture. This includes:
- Project Roles: These are flexible user groups specific to each project. You can assign users to roles, and those roles have specific permissions.
- Permission Schemes: Sets of defined permissions that determine who can perform actions like creating issues, assigning tasks, transitioning issues, etc.
3.2 Setting Up Your Teams
- Create Project Roles for Teams: Depending on your project structure, you might have roles like ‘Developers’, ‘Designers’, ‘QA’, etc.
- Assign Users to Roles: Populate each role with the appropriate team members. This way, you can assign permissions based on roles instead of individual users.
3.3 Configuring Permissions
- Navigate to Project Settings: Go to your Jira project and access the settings or administration section.
- Access Permission Schemes: Here you can create a new scheme or modify an existing one.
- Set Permissions Based on Roles: For example:
- Only 'Project Managers' can transition an issue to 'Done'.
- Both 'Developers' and 'QA' can comment on issues.
- Only 'Developers' can link issues.
- Set Issue-Level Security (If Needed): For sensitive tasks, you can set issue-level security so that only specific roles or users can view or modify them.
3.4 Considerations for External Teams or Stakeholders
If your project involves external stakeholders (e.g., clients or third-party vendors):
- Create Specific Roles: For instance, ‘Client’, ‘External Consultants’, etc.
- Limit Permissions: Generally, external roles should have more restricted permissions to ensure they only see and modify what’s relevant to them.
3.5 Continuously Review and Adjust Permissions
As the project evolves:
- Roles may need to change, with team members moving in or out of the project.
- Permissions might need adjustments based on feedback or project requirements.
- Regularly reviewing permissions ensures that they align with the current project state and team structure.
3.6 Utilize Groups for Larger Organizations
For larger organizations or when managing multiple projects:
- Use Jira Groups: Instead of defining users for each project, group users at the Jira level (like ‘All Developers’, ‘All Managers’). These groups can then be associated with project roles.
- Use Global Permissions: These are Jira-wide permissions, useful for setting up who can access and administer Jira at the system level.
Step 4: Track Your Projects
Efficient project tracking is paramount to the success of any project. Jira offers a comprehensive suite of tools and features to monitor progress, identify bottlenecks, and ensure timely delivery. Here’s how to make the most of Jira’s tracking capabilities:
4.1 Utilize Jira Boards
- Jira boards, whether Scrum or Kanban, offer a visual representation of your project’s progress.
- Scrum Boards: Best for teams using sprints. Visualize your backlog, plan sprints, and monitor sprint progress.
- Kanban Boards: Ideal for continuous flow processes. Visualize tasks, see work in progress, and identify potential bottlenecks.
- Move tasks across columns to update their status and get a snapshot of where everything stands.
4.2 Leverage Dashboards
- Customizable Jira dashboards offer a high-level overview of your project:
- Gadgets: Add various gadgets like activity streams, pie charts, issue counters, and more.
- Share Dashboards: Create dashboards for different stakeholders, such as team members, managers, or clients, and share them accordingly.
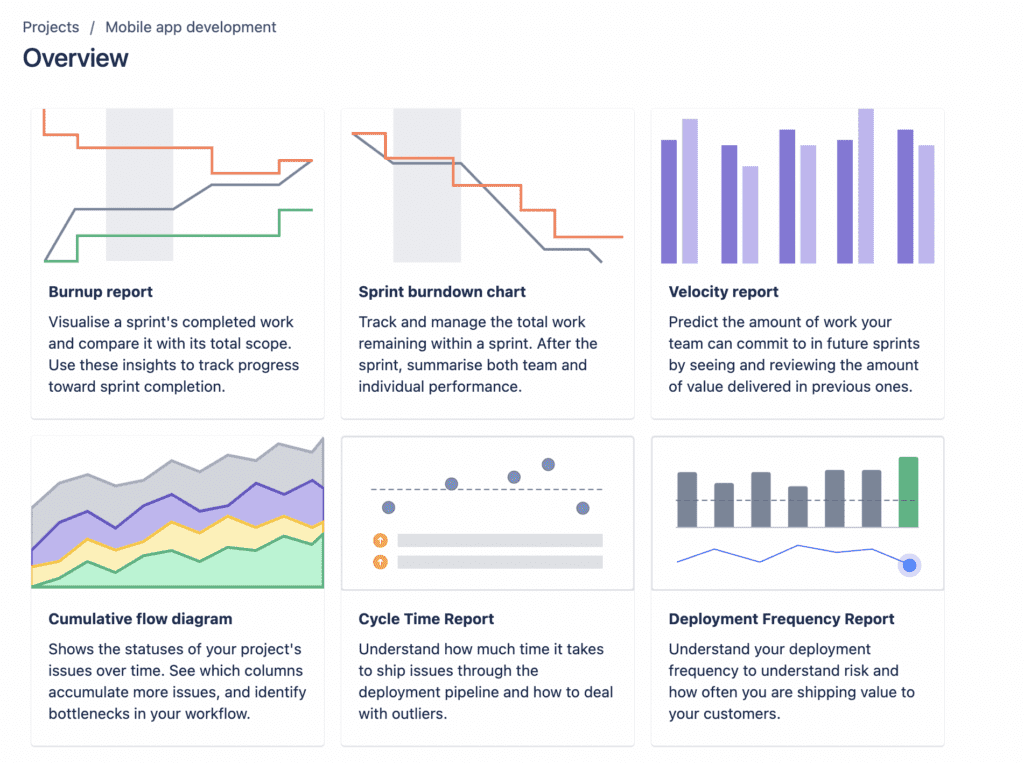
4.3 Dive Deep with Reports
Jira offers numerous built-in reports:
- For Scrum Teams: Burn down charts, sprint reports, velocity charts, etc.
- For Kanban Teams: Control charts, cumulative flow diagrams, etc.
- Custom Reports: Use Jira’s querying capabilities to create custom reports based on specific criteria.
4.4 Use Filters with Jira Query Language (JQL)
JQL is a powerful tool to create advanced queries:
- Save Filters: Once you’ve crafted a useful query, save it as a filter for future use.
- Share Filters: Share your filters with team members or stakeholders for consistent views across the board.
4.5 Set Up Notifications
Stay updated with real-time notifications:
- Email Notifications: Customize notification schemes to receive emails based on specific triggers (e.g., issue updates, comments).
- In-app Notifications: Review updates directly within Jira for a streamlined experience.
4.6 Monitor Work Logs and Time Tracking
If your team logs time on tasks:
- Track Effort: Monitor logged hours versus estimates to ensure tasks stay on track.
- Use Time Reports: Identify how much time is being spent on different tasks, by different team members, or during different periods.
4.7 Regularly Review Project Health
Hold regular reviews:
- Daily Stand-ups: For agile teams, daily check-ins help identify roadblocks and align on the day’s focus.
- Retrospectives: After sprints or project phases, discuss what went well, what didn’t, and how to improve.
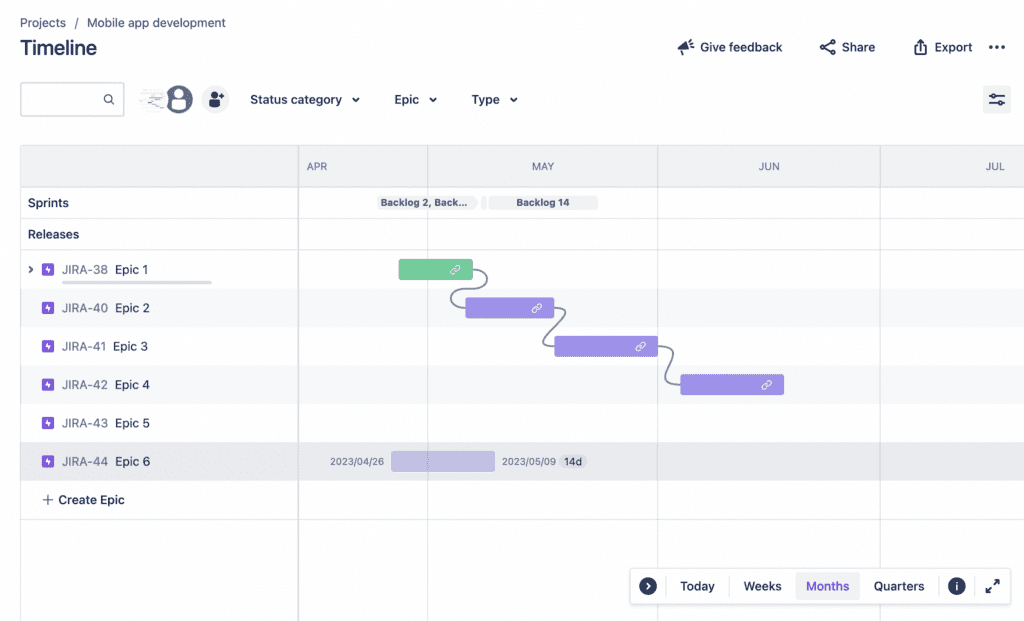
4.8 Use Roadmaps for Long-term Tracking
For Jira Software users:
- Visualize the Bigger Picture: See the planned work for upcoming sprints, dependencies, and overall project trajectory.
- Adjust Dynamically: Drag and drop tasks on the roadmap to adjust timelines and priorities.
Step 5: Take Advantage of Jira’s Agile Project Management Methodology
Jira is renowned for its robust Agile capabilities. Tapping into these can revolutionize how your team plans, executes, and delivers projects. Here’s how to maximize the benefits of Jira’s Agile methodology:
5.1 Embrace the Agile Mindset
Before diving into features, understand the Agile philosophy:
- Iterative Development: Focus on short, time-boxed development cycles, known as sprints, to deliver incremental value.
- Feedback Loops: Regularly gather feedback to refine and reprioritize your backlog.
- Collaboration: Foster a culture of open communication among cross-functional teams.
5.2 Set Up Agile Boards
- Scrum Board: Organize your backlog, plan sprints, and track sprint progress. Every sprint ends with a potentially shippable product increment.
- Kanban Board: Visualize the flow of tasks. It helps in identifying bottlenecks and ensuring a steady workflow.
5.3 Backlog Prioritization
- Product Backlog: Maintain a dynamic list of all tasks, features, and bugs. Regularly prioritize and groom this list based on business value and feedback.
- Estimation: Use story points, hours, or t-shirt sizes to estimate the effort. Tools like the Planning Poker can facilitate collaborative estimation.
5.4 Sprint Planning
- Define Sprint Goals: Determine the overarching objective for each sprint.
- Select Tasks: Based on priority and estimates, pull tasks from the backlog into the sprint.
5.5 Track Sprint Progress
- Daily Stand-ups: Facilitate short, daily meetings where team members discuss what they did, plan to do, and any roadblocks.
- Burndown Chart: Monitor the completion of tasks and story points over time. This chart provides a visual representation of work left versus time, helping teams assess if they’re on track.
5.6 Manage Releases
- Versioning: Use Jira’s versioning system to batch issues into specific releases. This helps in tracking progress towards a particular release and managing changes.
- Release Hub: View the status of versioned tasks, understand the completion percentage, and get insights into when you’re ready to release.
5.7 Conduct Agile Ceremonies
Beyond daily stand-ups, Agile incorporates several key ceremonies:
- Sprint Review: At the sprint’s end, showcase the work done. Gather feedback to further refine the product.
- Retrospectives: Discuss what went well, what challenges arose, and strategies for improvement in future sprints.
5.8 Embrace Continuous Improvement
Agile is about adaptability and growth:
- Feedback Loops: Regularly solicit feedback, not just from stakeholders but also end-users.
- Adapt to Changes: Agile recognizes that priorities can shift. Ensure your backlog is dynamic and can accommodate changes based on new insights or feedback.
5.9 Extend Agile with Jira Add-ons
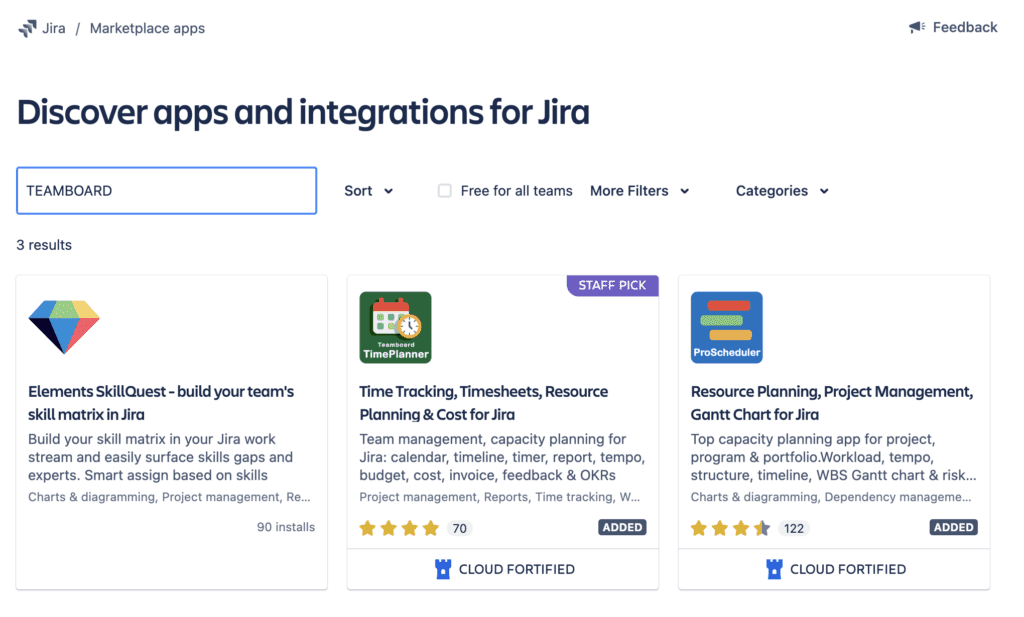
The Atlassian Marketplace offers several plugins to enhance your Agile experience:
- Advanced Roadmaps: Tools like Routemap, ProScheduler, TimePlanner, User Story Map, For portfolio management and long-term planning across multiple teams.
- Test Management: Tools like Agiletest can integrate testing within your Agile workflow.
- Agile Reporting: Get more detailed metrics on team performance, velocity, and forecasting.
Harnessing Jira’s Agile project management features can significantly boost a team’s productivity, collaboration, and delivery speed. Remember, it’s not just about using the tools but embracing the Agile mindset of flexibility, continuous feedback, and improvement.
Jira stands out as a beacon for project management, offering a suite of tools designed to enhance collaboration and efficiency. Throughout this guide, we’ve unveiled the steps to harness its full potential. Remember, while Jira lays the foundation, successful Jira project management is also about team dynamics, adaptability, and continuous growth. With Jira in your arsenal and a dedicated team at the helm, your project management journey is poised for success. We hope this step-by-step guide proves instrumental in your endeavors.